Wednesday, December 28, 2011

Winter Break Projects

Here are a couple of Winter Break projects.  The first is a tote bag I made for my niece.  She has been very sick and in the hospital.  I used the Cricut Imagine Baby Boutique cartridge for the monogram, bird designs, and swirls, which are printed and cut on fusible fabric.  I sewed a ribbon border using ribbon from the Ribbon Boutique.  I embellished with pink and clear rhinestones using my Easy Glitzer.  I created a matching bow also using ribbon from the Ribbon Boutique, I then found a cute rhinestone dragonfly pin to accent the bow.

 
The second project is an easy bookmark cut from the Animal Kingdom cartridge. This was my first wireless test cut using my Cricut Expression 2 machine and the Cricut Craftroom.  I embellished the bookmark with brads from All My Memories.  I add some coordinating buttons from Dress It Up. My name is formed from stickers from Colorbok. I colored my cardstock moose with my brown Copic marker.  I think I'll make a few more of these for friends and relatives!


Thanks for looking and Happy New Years!!

Tuesday, November 15, 2011

Cricut Imagine + Iron On Fabric Sheets For Ink Jet Printers

It's a windy, rainy day outside and I have a yucky head cold, so I decided to stay indoors, stay warm, and work with some of my crafts.  I pulled out some of my printable iron-on fabric I had purchased a few weeks ago.  I decided to try printing and cutting on this material using my Imagine.  Through trial and error, I found that the edges of this material need to be taped to the mat with a few pieces of tape.  I also set my pressure on 5 to make sure that the material was completely cut.  I used the Imagine Enjoy the Seasons cartridge to print the tree and squirrel for my sweatshirt.  The ink absorbed into the material wonderfully and was easy to iron on to the black sweatshirt.  I then sewed on some coordinating fall leaves and acorn buttons and finished the shirt with a little gold fabric paint.  I then printed the monogram "P" and bird image from the Imagine Baby Boutique cartridge.  I ironed these images onto a white tote bag.  I think I will sew a matching ribbon around the edges of the bag to add some additional embellishment.  I love the print and iron-on material.  I used the June Tailor Quick Fuse fabric sheets for ink jet printers.  With this material, it wasn't even necessary to flip the images before printing.  Looks like I'll be heading back to the craft store to buy more!!  Have a great week!

Patty

Sunday, November 6, 2011

Cricut Imagine More Cards: Happy Birthday!!

I created a quick and simple birthday card using my Cricut Imagine and the Imagine More Cards cartridge.  I used the print and cut feature and sized everything at four inches.  I then separated my layers.  I took a precut white card and used some blue polka dotted paper from the DCWV.  I then used a photo cardstock background in a pretty pink pattern that I adhered to the paper using Glue-dots.  I layered my diecuts using foam adhesive squares.  I added a little glitz to my candle flame using orange glitter glue.  I finished the card with a nice coordinating bow from the Ribbon Boutique and some glitzy sequins from a recent yard sale find!  This birthday card took just a few minutes to make and I think it turned out very nice.  Hmmm, my sister has a birthday this week...may have to put this one in the mail tomorrow!! Thanks for stopping by!   Patty

Yeah!! My Imagine is back home.

I had to send my Cricut Imagine back to the factory a few weeks ago.  Without hassle, the company sent me a new one and it came this past week.  I was so thrilled to have the print and cut capabilities, that this machine offers, back.  I came up with this card using designs from the Lori's Garden Cricut Imagine cartridge.  I started with the precut, scalloped card.  I then embossed it using my Cuttlebug and one of my wonderful embossing folders.  From there I added some images cut from Lori's Garden, which I layered with adhesive, foam squares.  I then added some faux flowers and pearl adhesives from Recollections.  I glitzed the diecuts just a little with glitter glue.  I strung some beads from The Ribbon Boutique, added a bow from my scrap stash, and finished the card off with an antique metal brad from Making Memories.  I think I might of gotten a little carried away with all the "bling" on this card, but I think it also gives it sort of a Victorian look.  Now I just have to find the right sentiment to go inside!  Have a great week and thanks for stopping by!   Patty

T-Shirts Using Yudu Preburned Screens

I took advantage of the recent sale on the Cricut.com website.  They had these pre-burned Yudu screens and I got 20% off plus free shipping.  I used brown Yudu ink on the pink t-shirt and black Yudu ink on the yellow t-shirt.  I just love the bird and butterfly and I can't wait to try these screens with some tote bags.  I also loved not having to take the time to prepare the emulsion!!    Thanks for looking!

Patty

Sunday, October 30, 2011

Country Joy Card and Frame

I love to follow other craft blogs.  They provide both inspiration and education.  I scraplifted today's project from the Everyday Cricut blog.  This picture frame idea was created by Joy and I decided to add a little country flair to my version.  I, as Joy did, purchased my tri-matte and frame from Michaels.  I used paper to fill the frames from the DCWV 'Tis the Season' stack.  I cut my letters from the Cricut Martha Stewart Elegant Cake Art cartridge.  I first cut the letters (three inch in size) out of white cardstock and then cut them a second time using the pretty Christmas print scrapbook paper.  I glued them together using my good ol' Elmer's gluestick.  I then cut squares of coordinating green paper from the same stack.  After gluing my letters onto the green squares, I adhered them to their red and white check background using foam, adhesive squares to add a little dimension.  I added some snowflake embellishments from Dress It Up.  To add some country flair to the matte, I added some antique style brads from Making Memories.  After putting the frame back together, I added a twine ribbon and bow.  I'm sure this project will make a wonderful, decorative piece in my log cabin during the upcoming holiday season.  Thanks Joy at Everyday Cricut for the inspiration.  After I had finished this project, I thought that this same design would look great for a Christmas card.  I used a precut craft paper-style card and again used scraps of the DCWV paper.  I added the snowflake and brad embellishments and a twine bow.  These were quick and easy projects to complete and would make great early Christmas gifts.  Looks like I might be heading back to Michaels for some more frames!!
Thanks for looking!

Patty

Saturday, October 29, 2011

I Love Adhesive Vinyl!!


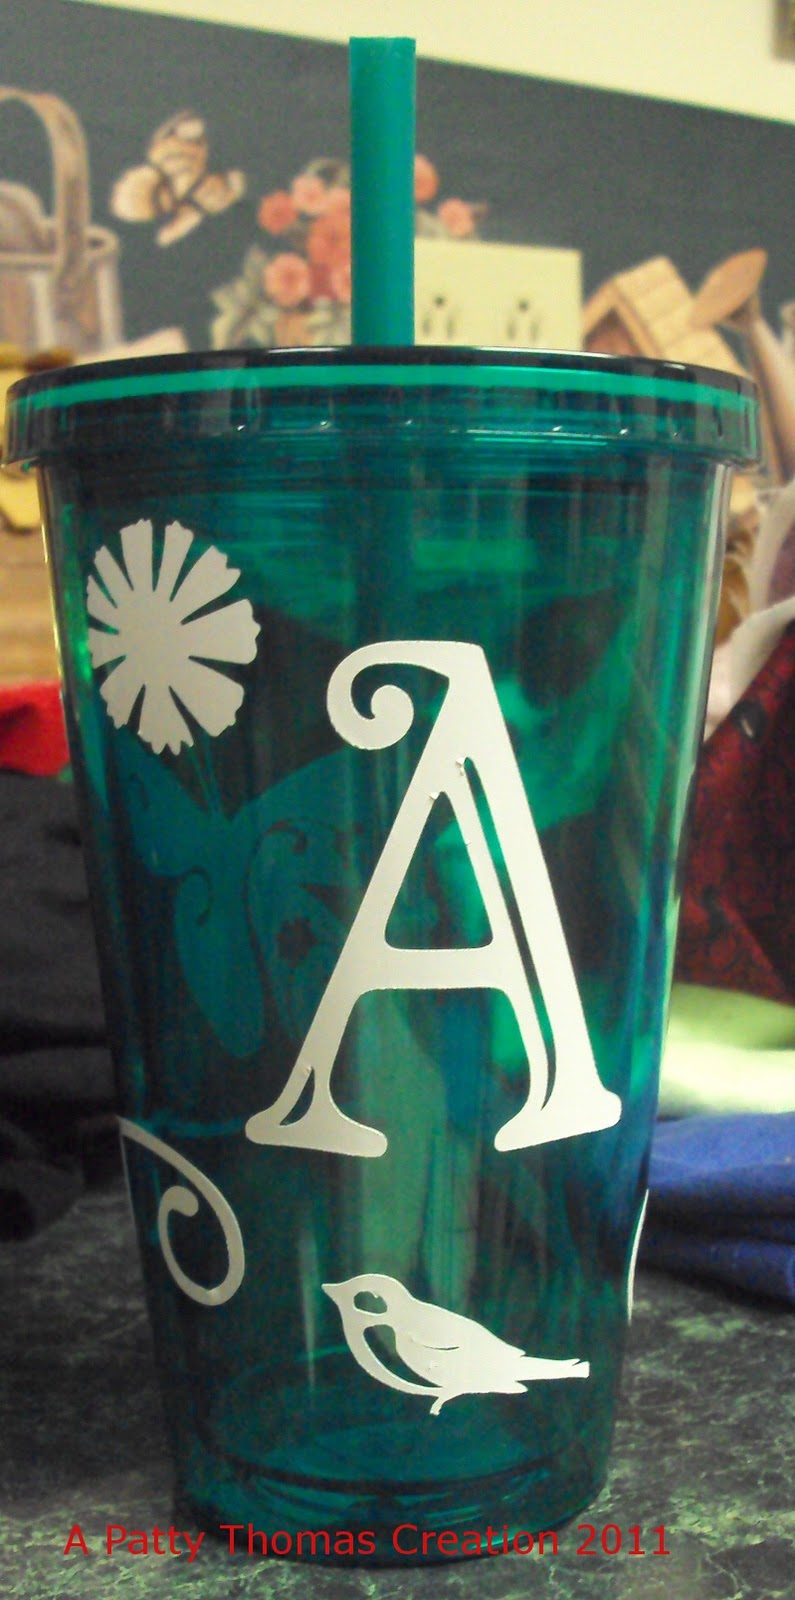
I haven't posted in a few days, but that doesn't mean that I have stopped crafting!! I placed an order with craftvinyl.com and was very pleased with both the support and service from my contact person, Nick. I ordered several colors and have been experimenting, alot!! I used multiple Cricut cartridges to cut these vinyl designs, including Hannah Montana (love the wonderful fonts!), Pumpkin Carving (for my glass block pumpkin), Thanksgiving for my charger plate, Christmas (for my winter church glass block), Home Decor (for the acrylic tumblers), and many of the monograms and pretty swirls, flowers, etc. came from Elegant Cakes and Martha Stewart Elegant Cake Art cartridges. I also designed the camping theme tumbler from my Campin' Critters cartridge and the wild animal tumbler from the Wildlife cartridge. I hope I haven't left any out!! I've been too excited and busy working with vinyl, that I didn't write everything down!! If you notice one and have questions, feel free to leave contact information. I also tried a new product that I recently found at Hobby Lobby. In the Christmas section, they have bottles of Glistening Snow Writer. This creates really beautiful dimensional effects on glass and paper. I had fun use this to add some dimension to my winter church glass block, which is going to light up the night near my fireplace this winter! I also had a chance to test the acrylic tumblers in the dishwasher. I placed one on the top rack and washed it on the "light wash" setting. It also went through a short drying cycle. Both the tumbler and the vinyl were just fine after I removed them. I plan to make tumblers for most of my family members for Christmas. I already have a pretty good start don't you think!! Thanks for looking!! Patty