This week I've been busy working on some book reviews as part of my summer job, thus my cardmaking has gone slightly by the wayside. Last night and today I gave my self a break and sat down with my Cricut Gypsy. Back in the spring I took advantage of a deal to get seven free cartridges with the purchase of a Gypsy. One of those cartridges was Tags, Bags, Boxes, and More. I experimented last night making a couple of bags on the 12X12 mat. I just wasn't pleased with their tiny size. Perfect for a gift card or ring box, but not a sizeable bag. I rustled up some 12X24 paper and went to work this morning. The pictures show what I came up with. Using the larger paper and mat, my gift bag is now around 7 1/2 inches wide by 6 inches tall (8 1/2 with the handle). I found some wonderful plain "tag" cards in the dollar bin at Michael's and used one of those to create a matching card. I really like these tag cards. I always like to display my holiday cards and these have a prepunched hole perfect for hanging with ribbon or beads. Okay here's my "recipe" for the bag and card:

Bag:
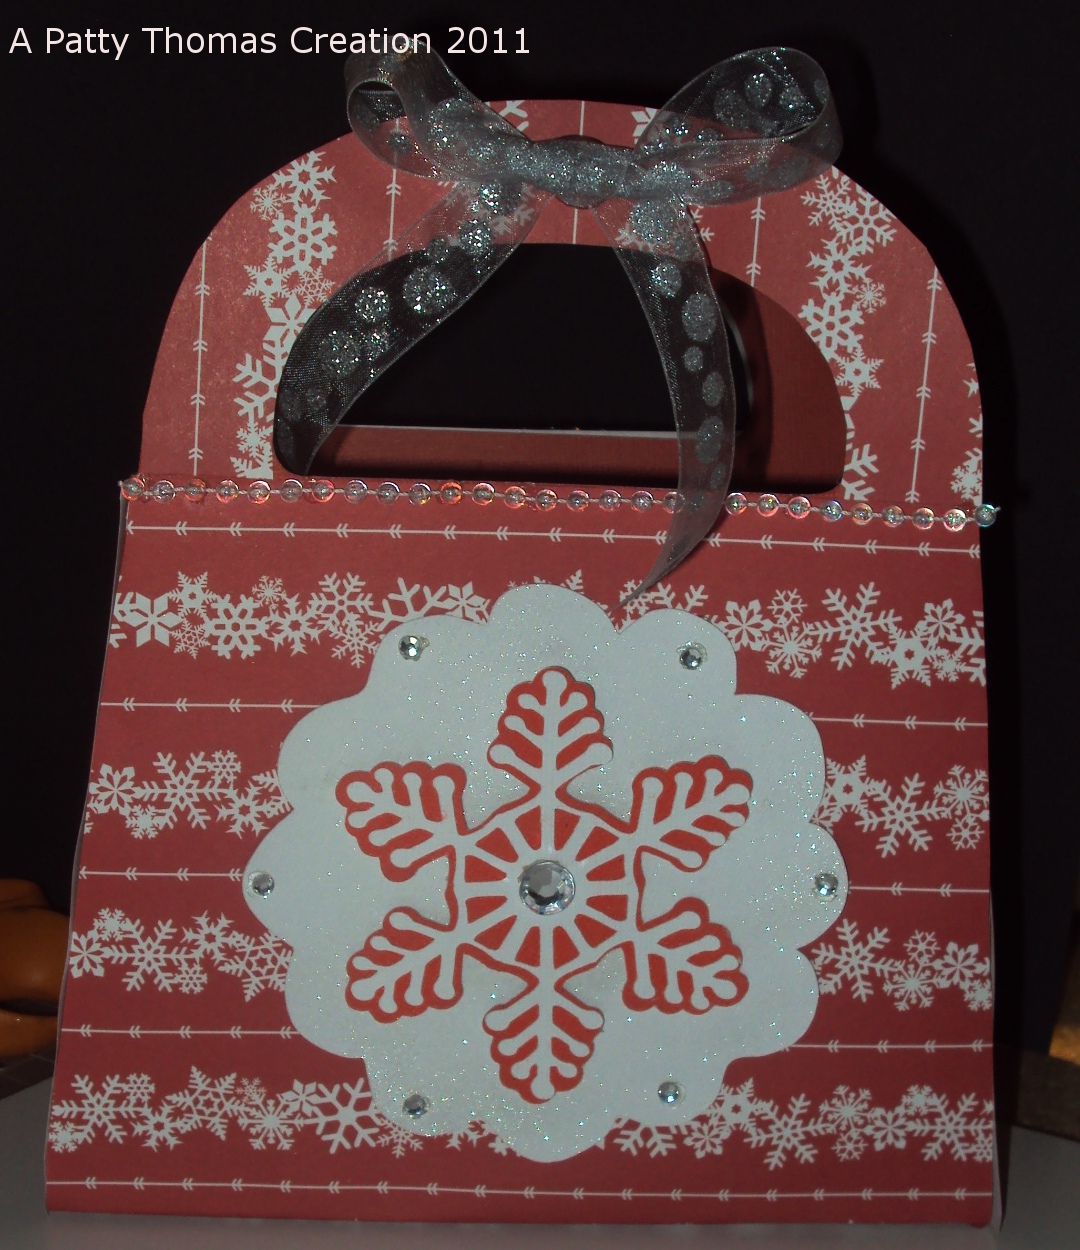
I used one piece of red 12X24 cardstock from The Paper Studio cut at 22.75 X 11.58 (these sizes were created on my Gypsy). I then traced around the outside of the bag to put my snowflake pattern paper, from Recollections, in place. This also gave the bag a little more stability. Everything was put together using an Elmer's gluestick and Glue Dots to reinforce the bag seams. I embellished the outside by cutting a doily from the Cindyloo cartridge at 4.5 inches using white cardstock. I sprayed the white cardstock with sparkle Sheer Shimmer Spritz. I then cut a snowflake and background from the Winter Lace cartridge at 3.5 inches each. I added some sequins from Recollections and some bead trim and a bow. The bead trim was from RibbonFx and the ribbon from the Ribbon Boutique.
The Card:
As I've already mentioned, the card comes from Studio G. I adhered my snowflake patterned paper with a gluestick and then spritzed the exposed white area with sparkle Sheer Shimmer Spritz. I used Cindyloo again to cut a doily at 2.8 inches. Winter Lace provided me with the snowflake and background, cut at 1.8 and 2.1 inches respectively. I then added the same theme with the bead trim, ribbon, and sequins, using Glue Dots to hold everything together.
I know it's a little early for the holidays, but this crafting activity has me thinking of cooler weather as we hit 90+ temperatures and elevated humidity today!!
Have a wonderful rest of your weekend!!
Patty